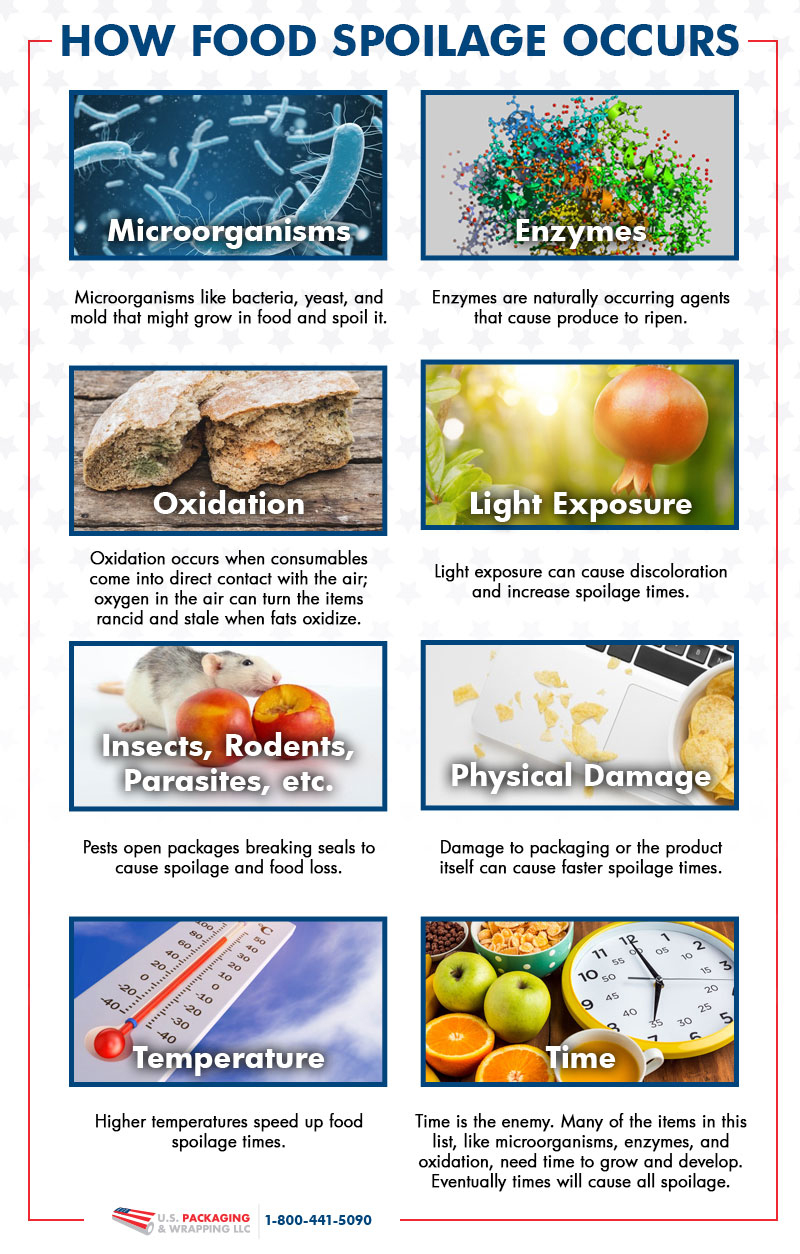
Vacuum sealing in a vacuum bag can increase shelf life and freezer storage several times longer than other methods. Vacuuming removes oxygen, one of the leading contributors to food degradation. View our vacuum packaging shelf life chart to see how the process can extend the longevity of the products you want to keep.
Though vacuum packaging can extend the shelf life of most consumable products, problems can arise. Subtle changes or missteps during the bagging and sealing process can result in undesired food spoilage or freezer burn. Follow the steps below for tips and tricks to vacuum seal like a professional.
Choose the Right Sealer
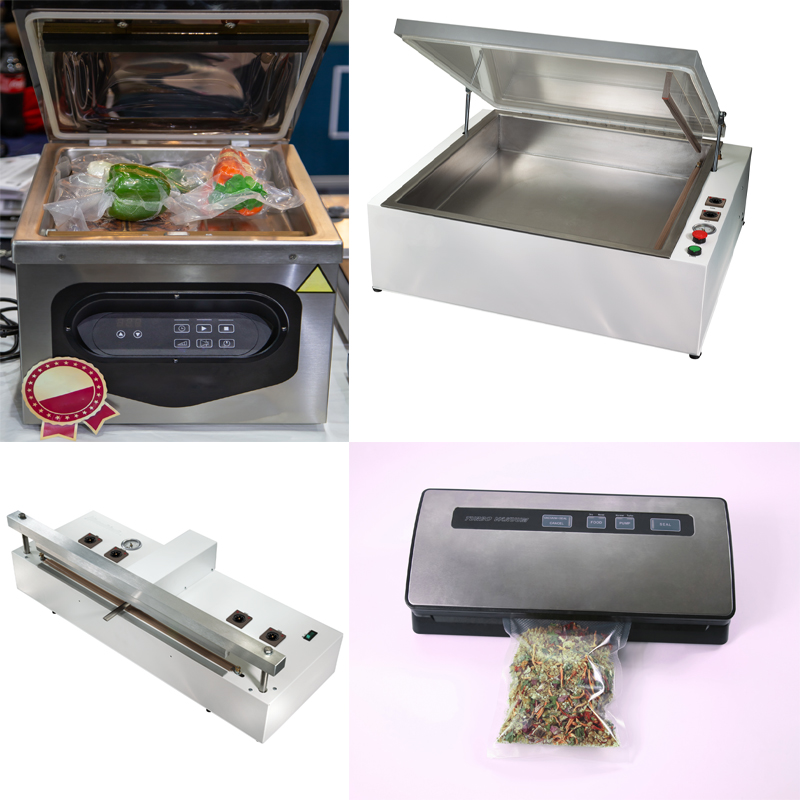
Achieving desired goals begins before any packaging. You have to choose the suitable vacuum sealer for what you want to package. See the compatible vacuum bag tip below if you have purchased a home-use sealer for packaging and freezing leftovers.
If you have not purchased a vacuum sealer and want to pack anything unique or different from home-use vacuuming, be sure to buy a suitable machine. Some people like to vacuum seal liquids or foods in jars; a standard vacuuming machine will not accomplish a seal and oxygen removal with these items.
Even some home use sealers will not accommodate sizes everything people want to preserve in the home. Look to see the sealer’s options and be sure if additional features are available; they meet your needs. For commercial vacuum sealing, don’t only consider features and options but speed and efficiency. Sealers will perform many different actions but may not be fast enough for higher volume vacuum packaging. Even if they seal and vacuum fast enough, the components may not be durable enough for more demanding operations.
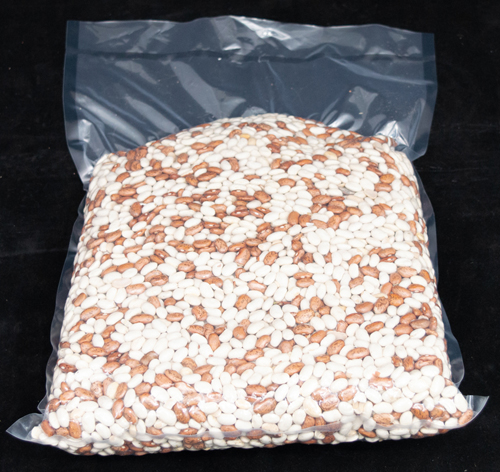
Use Compatible Vacuum Bags

One of the essential tips for anyone using a home use vacuum sealer is ensuring replacement bags or rolls have textured channels on them. Machines with a smaller internal compressor require a textured vacuum bag to allow air to escape and run out of the bag as a vacuum is pulled.
A common mistake is purchasing smooth replacement vacuum bags with a home-use sealer. Another common mistake is buying regular poly bags and expecting them to hold a vacuum. Vacuum bags have an oxygen barrier to keep air from entering or escaping after a seal has been made. Be sure any bags or rolls used with your sealer have an oxygen barrier.
Wash Hands or Wear Gloves
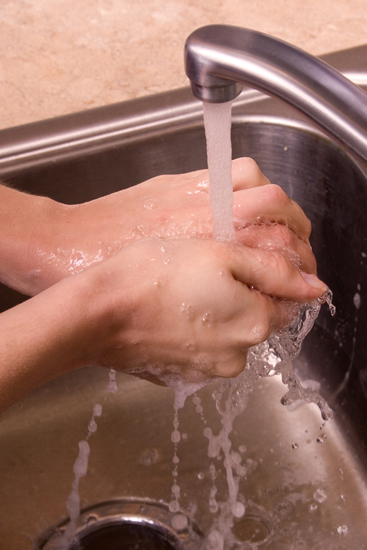
Proper hand washing or gloves are recommended if hands come into contact with the product. Unclean hands can conceal bacteria within the package. Many times foods are cooked after being removed from a vacuum package, and bacteria are destroyed, but other times products may be already cooked and only need to be warmed. If the meat or leftovers are not heated enough to kill bacteria, it would be an unnecessary gamble. Keep it clean and sanitary by washing or gloving up if coming into direct contact with foods being vacuum packaged.
Allow Items to Cool Before Vacuum Sealing

Warm food create condensation that can trap moisture in the bag. Even with a proper vacuum and air removal, water can lead to freezer burn in frozen storage. Wait to move foods into vacuum barrier bags until they cool. This will ensure less moisture builds up on the interior of the package leading to possible food degradation.
Do Not Fill the Bag All the Way
It is important to remember when vacuum sealing, the open side of the bag will need room for air removal and making a seal. Some sealers require more room at the top to make a seal than others. The additional space also helps if the contents have any juices or liquids. During the vacuuming process, juices will be pulled from the bottom of the bag; too much fluid can hinder the heat sealing process and keep good seals from forming.
Wipe Off Liquids and Particles Before Sealing
When placing consumable items into the bag, residue and juices are left behind. Use a paper towel and remove anything on the bag’s top section for a better seal. If small food particles or even excess juice impede the seal, a vacuum will not hold, and the contents will spoil. If there is any noticeable residue or liquid at the top of the bag where the seal is made, take the extra time to wipe it off.
Make Sure the Bag is Properly Aligned Within the Vacuum Sealer
Each vacuum sealer requires the bag to be placed in a specific location for the air removal and seal to finish correctly. Nozzle sealers require the nozzle to be placed at a certain depth in the bag for a seal to be made. Edge sealers, which have a reservoir for juices and a sealing wire, require the bag to be placed in a specific area for air removal and sealing. If the open end is not aligned right, the whole process will not work correctly. Even larger chamber vacuum sealers require the end of the package to be placed in a specific area for a seal to be made.
Inspect the Vacuum Bag After a Seal has been Made
There are multiple ways to inspect a completed seal. First, visually inspect the seal seam. If spots do not seal, the bag will not maintain a vacuum. Another common cause of air exposure is small creases or wrinkles in the seal seam. A wrinkle may appear if the bag is not aligned correctly in the sealer. Any small wrinkles or creases crossing the seal seam will cause leakage.
If Vacuuming anything with bone or sharp edges, visually inspect the package once sealed. If unsure about the seal or punctures, set a package aside for several minutes and check to see if the vacuum is holding. Tiny holes allow air intake through the packaging, causing spoilage and product loss.
Another quick way to check a vacuum packaged bag is with a firm pull after sealed. With two hands, grab each side of the bag and pull it apart. A correct seal has not been made if the bag quickly pulls apart. With a proper seal, the bag will be difficult to pull apart without tearing.
Inspect the sealing area after each use.
After several seals have been made, juice and other components can harden and build up on the sealing wire. The build-up will impede sealing and cause the wire to become ineffective over time. Using a lightly dampened cloth, wipe the sealing area off after usage to ensure a longer sealing wire life. Teflon tape is placed over the sealing wire for protection; if any areas of the Teflon cover are torn or ripped, replacement Teflon tape will cost less than a new sealing wire.
Conclusion
With small steps, you can be sure stored items are completely sealed and protected from spoilage or freezer burn. Mistakes always happen and can quickly be rectified. If a seal is made having wrinkles or creases, make a second seal above the creased seal. The double seal will help to protect vacuum packaged items further.
Spoilage will happen swiftly if there are any punctures or improperly sealed areas of the vacuum package. Spending seconds to double-check can save on food costs and reduce waste. If you have questions about commercial vacuum packaging and extended product shelf life, call 1-800-441-5090 and speak with a professional today.